Learn how to share your Facebook category with our simple guide. Follow these 5 easy steps to effectively communicate your page’s focus and engage your audience!
How to Share Your Facebook Category: A Simple Guide
How many times do you have used the phrase ‘when I run my business on Facebook, one of the first things I do is select a category for my page? The term simply refers to categorizing your Facebook page, whether it is about a business, community page, or personal brand. That does help users discover your content; it increases visibility and can enable special features of your page as well. For now, let’s get into all the details by showing you just exactly how to add and share the category on Facebook that will help bring your page noticed.
What in the world is a Facebook category?
Facebook categories are the tags or keywords used to describe what your page represents. Think of them like labels that tell visitors a bit about what they might find on your page. When you create or manage a Facebook page, choosing a category is one of the very first decisions you make. Your category not only helps people find your page but determines which features are available for you.
Types of Facebook Categories

Here is the main selection of categories with Facebook, where you can pick one or even more depending on the page. For your convenience, the most popular ones are:
Business or Brand:
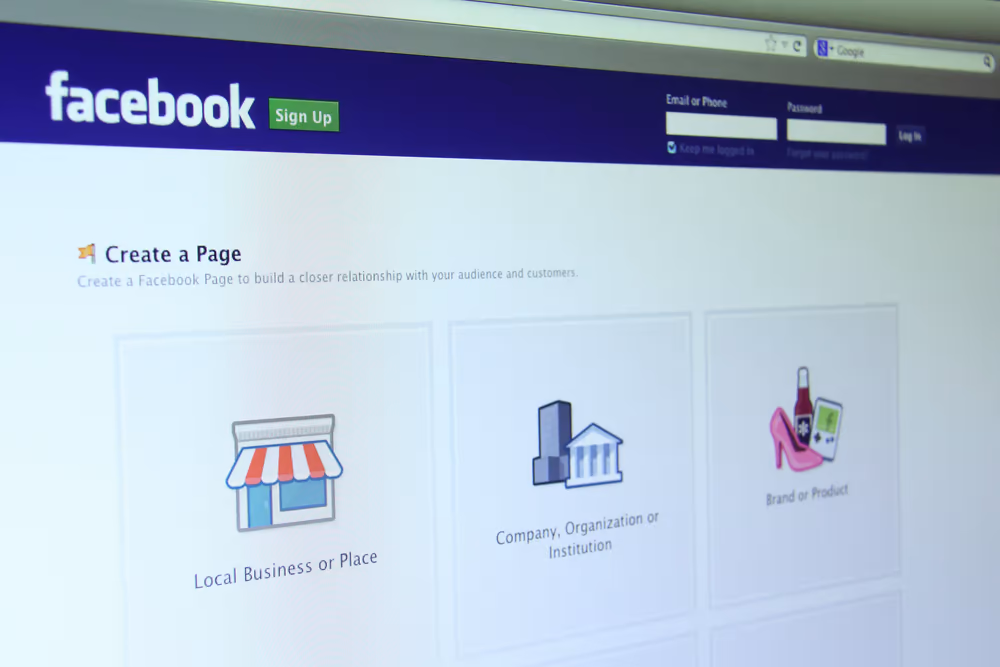
Local Business or Place
Company, Organization, or Institution
Brand or Product
Community or Public Figure:
Artist, Band, or Public Figure
Cause or Community
Political Organization
Entertainment:
Movie, TV Show, or Video Creator
Musician/Band
Book
Other Specific Categories:
Nonprofit Organization
Event or Festival
News or Media Website
Website or App
Choose a category that works for you to make a real difference in the people finding your page and the tools Facebook gives you to connect with your audience.
Why Are Categories So Important?

You might be asking, “Why does it matter what category I pick?” Well, here’s why categories matter for your Facebook page:
1. Assists Users to Find Your Page:
Whenever a user performs a search for something on Facebook, your category is utilized in determining if the page you are using will show up. Suppose you set the category of “Restaurant”. Therefore, when searching for dining around town, your page will automatically come up to that user as it will indicate restaurant to him/her.
2. Boosts Visibility:
Your page’s category may also determine how visible your page is. A clear category helps Facebook’s algorithm understand what your page is about, which could make your content more likely to show up in people’s feeds or recommendations.
3. Unlocks Special Features:
Facebook provides you with different tools depending on your category. For instance, a “Restaurant” category will allow you to add a menu, whereas a “Public Figure” page gives you tools to interact more easily with followers. Picking the right category can help you use Facebook more effectively.
4. Increases Trust:
When your page has a category that correctly represents what you do, people know exactly what to expect. This builds trust, making visitors more likely to engage with your page or follow you.
How to Set Your Facebook Category: A Simple Step-by-Step
Before you can share your Facebook category with others, you first need to set it up correctly. Here’s how you can do that:
1. Log in to Facebook
First, go to Facebook and log into your account. If you’re managing a page, go to that specific page.
2. Go to Your Page Settings
On your page, find and click on the “Settings” option, usually in the top right corner.
3. Edit Your Page Info
In the left-hand menu, click “Page Info” or “Edit Page Info.” This is where you’ll find the fields for categories and other page details.
4. Choose Your Category
Under “General,” you will see a section called “Category.” Click on it and start typing a category that best describes your page. You can pick up to three categories, so don’t be shy and pick the ones that best describe your page.
5. Save Your Changes
Once you have selected your categories, remember to save your changes by clicking the “Save” button.
How to Share Your Facebook Category
Now that your category is set, you might wonder how to share it with others. While the category itself doesn’t automatically get shared, there are some easy ways to let others know about it.
1. Share Your Page Link
The easiest way to share your category is by sharing your page link. Here’s how:
Go to your page.
Copy the URL from your browser’s address bar.
Share this link everywhere you go via social media, emails, etc. Whenever they visit your page, they’ll view your category there!
2. Post About it on Social Media
You may also simply place your category as part of your post. Thus, “Now we’re officially a ‘Restaurant’ page of Facebook—order our menu online!” That allows your followers to know your category and, through that, see your page too.
3. Mention Your Category in Your Marketing Materials

When you are running a promotion or ad, get it on your category as well. Something like, “This is a ‘Fitness’ page on Facebook—join us for expert health tips and workout ideas!” You can include this information on your categories while contextualizing your advertising efforts.
4. Utilize Facebook Ads to Target Categories
If you are using Facebook ads to grow your page, you can target specific categories of users. For example, if you have selected “Beauty Salon” as your category, you can create ads that are more likely to reach people interested in beauty-related content.
Conclusion
This might seem like a small thing: choosing and sharing your Facebook category. However, it has a big impact on how people find and engage with your page. A well-chosen category helps your page show up in relevant searches, unlocks helpful tools, and builds trust with your audience. Once your category is set, sharing it through page links, social media posts, and ads can further boost your visibility.
By taking the time to choose the right category for your page and sharing it in creative ways, you’re setting the stage for more engagement and growth on Facebook. So, take a few moments to think about what category fits your page best, and then start sharing it with the world!
https://www.facebook.com/business
FAQs: Sharing Your Facebook Category
1. What is a Facebook category?
- A Facebook category is a label that describes the type of business or organization your page represents. It helps users understand what your page is about and improves searchability.
2. How do I find my Facebook category?
- You can find your Facebook category by navigating to your page, clicking on the “About” tab, and looking under the “General” section where your category is listed.
3. Can I change my Facebook category?
- Yes, you can change your Facebook category. Go to the “About” section of your page, click “Edit” next to your category, and select a new category from the dropdown menu.
4. Why is it important to share my Facebook category?
- Sharing your Facebook category helps inform your audience about your page’s focus, improves visibility in searches, and can attract more relevant followers.
5. Can I share my Facebook category in a post?
- Yes, you can create a post on your page that includes your category. Simply copy the category from the “About” section and paste it into a new post, adding any context you wish.
6. How can I make my category post more engaging?
- To make your post more engaging, consider adding a question, a call to action, or a relevant image. You can also encourage followers to share their thoughts related to your category.
7. Is there a limit to how many categories I can have?
- Facebook allows you to select one primary category for your page, but you can also add additional categories to provide more context about your business.
8. What if my category is not listed in the options?
- If your desired category is not available, you may need to choose the closest match. Facebook periodically updates its category options, so you can check back later for new additions.
9. Can I share my category on other social media platforms?
- Yes, you can share your Facebook category on other social media platforms by copying the category and creating a post on those platforms, similar to how you would on Facebook.
10. How can I track engagement on my category post?
- You can track engagement on your Facebook post through the post insights, which will show you likes, comments, shares, and other engagement metrics.
- Also Read: Understanding Windows Operating System License: What You Need to Know

